
Review · VENICE PHOTOSHOOTS
Photography workshop in the magical Venice (3h)
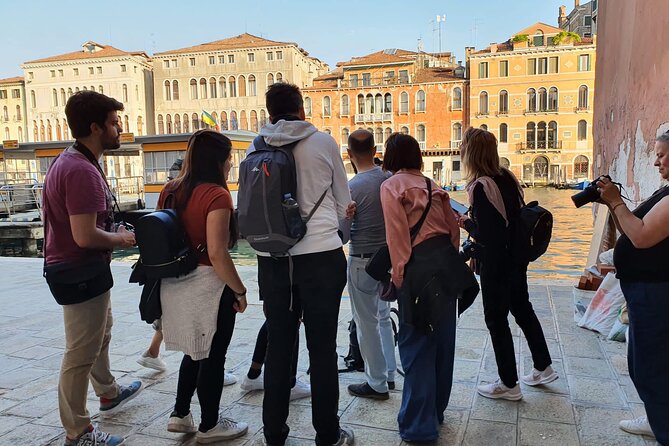
Venice by camera can be magic. This workshop turns the city into your practice set, with real guidance on street and architecture shots. I like that it starts at Venice Santa Lucia and ends at Piazza San Marco, so you get a full “walk-and-shoot” arc without wasting time guessing where to go. I also like that Andrea Zavagnin adjusts the pace based on your camera experience, not just a one-size-fits-all script.
The only real consideration: it’s hands-on, and there’s no equipment provided, so you’ll want to bring a camera or phone you can actually use confidently (and ideally settings you can change).
In This Review
- Key highlights
- Venice Through the Lens: Why This Workshop Feels Different
- A 3-Hour Photo Walk That Actually Teaches Something
- Street Photography Skills You Can Use Immediately
- Architecture Skills That Keep Buildings From Looking Flat
- Santa Lucia Start: Getting Grounded Before You Shoot
- The Walk Toward Rialto: Street Rhythm Meets Practice
- Rialto Focus: Angles, Lines, and Photo Thinking
- Piazza San Marco Finale: Composition With a Serious Backdrop
- Gear Rules That Matter: Bring Your Own Camera (and Make It Work)
- What to Bring for the Best Results
- Price and Value: Paying for Instruction, Not Just a Walk
- Who Should Book This Photo Workshop in Venice?
- Who might not love it
- Weather and Timing: Small Things That Affect Your Photos
- Quick Practical Tips Before You Go
- Should You Book This Workshop?
- FAQ
- Where do we meet for the photography workshop?
- How long is the photography workshop in Venice?
- Is photography equipment included?
- How big is the group?
- Who is the guide for the workshop?
- What happens if the weather is bad?
Key highlights
- Andrea Zavagnin tailors the workshop by asking what you shoot and how comfortable you are with your camera.
- You practice while you walk from Santa Lucia up toward Rialto and on to Piazza San Marco.
- Street photography meets architecture: you’ll work on angles, composition, and how to frame Venice’s buildings and details.
- Small group size (max 8) keeps questions from getting stuck in limbo.
- Tripod support is included via a tripod brought by the guide, while you bring your own gear.
- You finish in the most photogenic finale spot: Piazza San Marco.
Venice Through the Lens: Why This Workshop Feels Different
Venice is the kind of place where you can point and shoot and still get a pretty postcard. But if you want images that look intentional, this kind of short photo session is a smart use of your time. In about three hours, you’re not just sightseeing. You’re working on how to see.
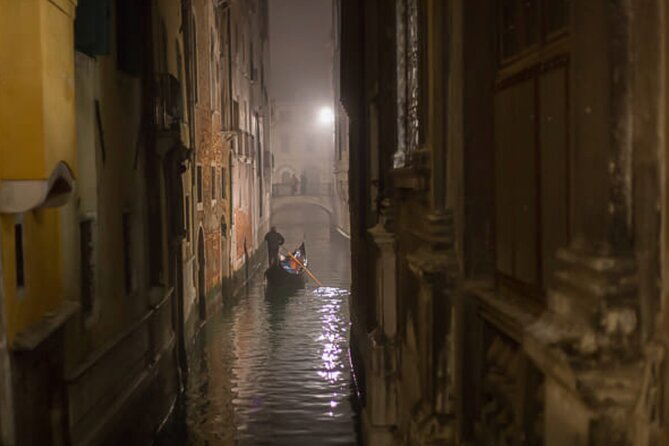
What makes this workshop click is the mix: street photography techniques on real streets, plus architecture-focused framing as you move toward Rialto and Piazza San Marco. That combination matters because Venice rewards both approaches. The city is full of faces, reflections, doorways, and street textures, but it also has dramatic lines in buildings, arches, and campaniles that can look flat if you don’t learn a few framing tricks.
Another big plus: Andrea Zavagnin asks questions first and adjusts the walk to match your starting point. If you’re on full auto, you’ll be nudged into using more control. If you already know your basics, you’ll get pointed at more creative composition and practical ways to work quickly in a crowded, moving setting.
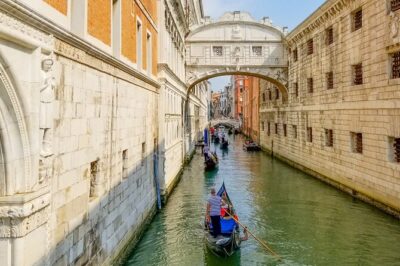
More frames against the canals and San Marco
- Venice: Photoshoot at Piazza San Marco and the Canals★ 4.8 · 763 reviews
- Venice: St Mark’s Square and Canals Photoshoot★ 4.8 · 274 reviews
- Venice: Photoshoot at The Grand Canal & Rialto Bridge★ 4.9 · 268 reviews
- Fabulous photoshoot in the Canals of Venice★ 5.0 · 122 reviews
A 3-Hour Photo Walk That Actually Teaches Something
This workshop is built as a practice session. The city is your classroom, and every segment is meant to produce usable images, not just “look at this view.”
Here’s the typical flow you can expect:
- You start at Stazione di Venezia Santa Lucia.
- You walk up toward Rialto.
- You finish in Piazza San Marco.
- Along the way, you practice street shooting and architecture techniques and sharpen your creative eye.
In plain terms, you’ll spend less time trying to figure out where to stand, and more time learning how to frame what you see. One review described this as a class while walking, practicing techniques on Venice as the canvas. That’s exactly what you want for a short time in a city like this.
You’ll also get feedback. With a group capped at 8 travelers, you’re more likely to get your questions answered right when you need them instead of waiting until the end.
Street Photography Skills You Can Use Immediately
Venice street photography can go two ways: either you snap randomly, or you start composing with intent. This workshop leans into the second option. You’re learning how to:
- choose viewpoints that add depth
- use lines and edges in narrow spaces
- frame people and details without making everything look like a blur of buildings
Even if you don’t think of yourself as a street photographer, you’ll still benefit. Venice’s streets are where the city’s character lives.
Architecture Skills That Keep Buildings From Looking Flat
Architecture in Venice can be tricky. From a distance it looks gorgeous, but in photos it can become a wall of shapes. The workshop’s architecture angle focuses on how to photograph buildings so they feel dimensional—by thinking about perspective, structure, and how your composition guides the eye.
You’re essentially learning how to translate the “3D-feel” of Venice into something your camera can capture.
Santa Lucia Start: Getting Grounded Before You Shoot
The meeting point is Stazione di Venezia Santa Lucia, address listed as 30121 Venice. Starting at the station makes practical sense. You arrive already oriented to a major landmark, and you can begin photographing immediately instead of spending the first hour just getting your bearings.
If you’re the type who freezes when you have a camera in hand, this start helps. You get movement and momentum right away. The workshop begins with a plan, and you can focus on technique instead of logistics.
A small but important thing: at the start, you can expect Andrea to ask about your camera experience and what you’re using. That’s not filler. It directly affects what you’ll work on next. Reviews specifically mention him asking questions to understand your approach and adjusting the tour accordingly.
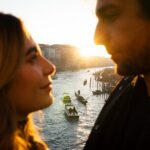
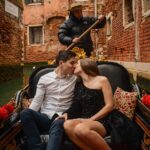
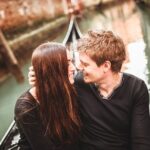
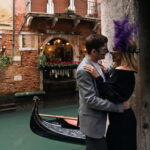
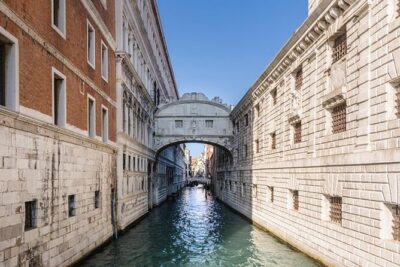
More keepsake frames from the canals
The Walk Toward Rialto: Street Rhythm Meets Practice
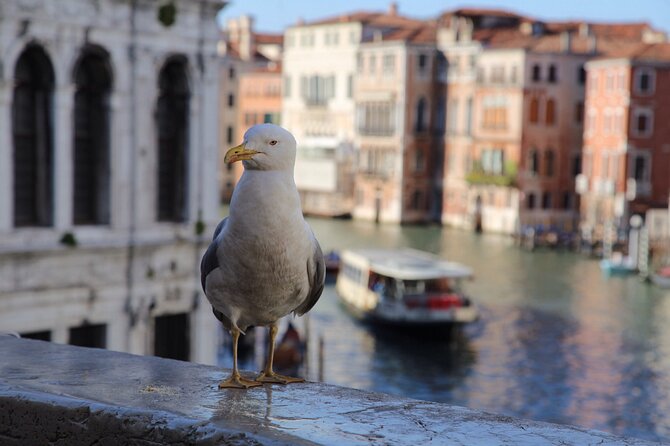
As you walk from Santa Lucia toward Rialto, you’ll shift from “seeing Venice” to “working Venice for photos.” This part of the route matters because you’re moving through real city texture—streets, corners, and frames that can change fast.
This is where you’ll practice street techniques under guidance. Rather than trying to master everything at once, the workshop nudges you into small improvements:
- how to position yourself to get stronger framing
- when to slow down for composition and when to move quickly
- how to keep your shots from becoming generic
One review noted that the walk included areas off the main tourist routes. That’s a real advantage for photography. Away from the busiest bottlenecks, you have better odds of getting clean compositions and seeing more varied scenes.
Rialto Focus: Angles, Lines, and Photo Thinking
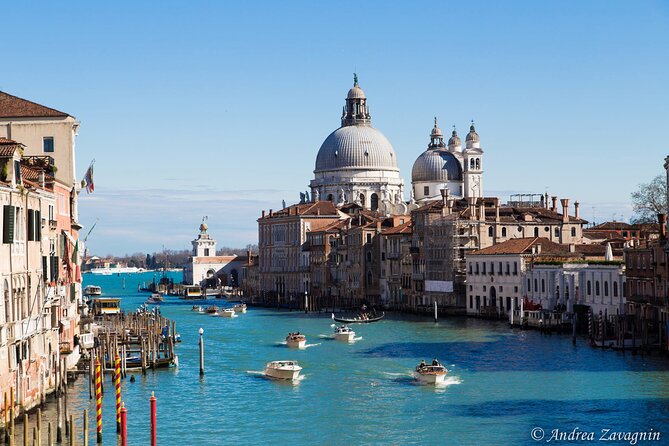
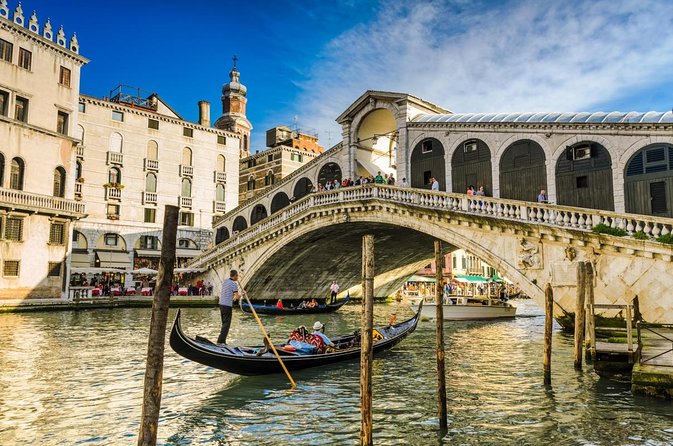
Rialto is an obvious magnet for photographers, and that’s exactly why it’s a good “techniques checkpoint.” You’ll have architecture in front of you, plus the street-life around it. The workshop’s job here is to help you photograph both without defaulting to the simplest “stand and shoot” version.
Think of Rialto as a place to learn camera decisions:
- how to frame architectural shapes with intention
- how to use angles so the scene has depth
- how to keep your composition from being cluttered
This isn’t about memorizing camera jargon. It’s about getting results that look composed, not accidental. If you’re already comfortable with your camera, you can push composition further. If you’re not, this is still a useful place to learn.
Piazza San Marco Finale: Composition With a Serious Backdrop
The workshop ends back at the meeting point, but your tour route finishes at Piazza San Marco as the destination. That’s where the iconic backdrop does the work for you.
But a big square is also a test. It’s easy to take one safe wide shot and call it done. The workshop encourages you to keep thinking like a photographer: how do you break the scene into frames, how do you emphasize details, how do you guide the viewer through the photo?
For many people, Piazza San Marco is where they want their “wow” images. The goal here is to leave with more than one generic souvenir shot. You want images that show you looked carefully.
One review mentioned learning how to use the camera off auto and how to compose pictures, with a lot of walking time and personalized attention. While that may not be the exact standard for every session, it’s a strong signal of the workshop’s approach: instruction plus real practice, not just standing around.
Gear Rules That Matter: Bring Your Own Camera (and Make It Work)
Here’s the important part for your packing checklist: no photography equipment is provided. You bring your own camera or phone and anything you normally need to shoot.
On the plus side, the workshop includes a tripod brought by the guide. That can be helpful if:
- you want more stability for sharp shots
- you want to try tripod-based techniques without hauling your own tripod
- you’re curious about slower shooting or more deliberate framing
That said, don’t assume the guide’s tripod replaces your needs completely. If you want to experiment, bring what lets you experiment comfortably.
What to Bring for the Best Results
You’ll get the most value if you can do at least a few of the following on your device:
- change exposure settings (or at minimum understand what your camera is doing)
- adjust focus and framing quickly
- switch lenses (if you have them) or switch to a different focal length on a phone
If you only have an old phone and you can’t control basic settings, you can still get useful composition coaching. But you’ll get more out of the workshop if you can move beyond fully automatic.
Price and Value: Paying for Instruction, Not Just a Walk
The price is $162.06 per person for about 3 hours. That’s not cheap, but photo workshops in a city like Venice often cost this range because you’re paying for time, guidance, and a small group structure.
Here’s what makes the cost feel more justified:
- Small group size (max 8) means more direct feedback.
- Tripod support is included, which reduces your need to bring extra gear.
- You’re not only walking to landmarks; you’re doing photo practice with techniques for street and architecture.
- Instruction is tailored after questions about your experience level.
I also like the idea that the tour isn’t just “see Venice.” The teaching component matters when you have limited time. If your goal is to take home better photos, this is the kind of activity that improves your results immediately instead of just giving you a nice walk.
If you’re already an expert and you want advanced studio lighting or long-course training, you might find three hours short. But for most visitors—people who want better photos without a full photography course—it’s a strong match.
Who Should Book This Photo Workshop in Venice?
This workshop is a good fit if you:
- want to improve your photos in a structured way
- like the mix of people/street scenes and dramatic architecture
- prefer learning from a guide who adjusts to your skill level
- can walk comfortably for about three hours
It’s especially attractive for intermediate photographers and motivated beginners. Reviews mention personalized guidance and practical lessons like using the camera off auto and composing pictures. That’s the sweet spot.
Who might not love it
If you’re traveling with zero interest in photography beyond occasional phone snaps, you could find this less satisfying than a general sightseeing tour. You’ll still be in Venice, but the focus is on learning to photograph, not just touring.
Also, because you must bring your own equipment, double-check that you’re comfortable using it on the fly.
Weather and Timing: Small Things That Affect Your Photos
This experience requires good weather. If the workshop is canceled due to poor weather, you’re offered a different date or a full refund.
That matters because Venice photos depend on light and reflections. Overcast skies can still look good, but heavy rain changes the kind of scenes you can photograph and how comfortable you’ll be walking and shooting.
If your schedule is tight, keep your options open. When you can reschedule, you’re less likely to lose the workshop entirely.
Quick Practical Tips Before You Go
A few small moves can make a huge difference once you’re on the street:
- Start with one clear goal: street photos, architecture photos, or both.
- Charge your gear and clear memory before you meet at Santa Lucia.
- Plan to shoot more than you think you need. Technique improves through iteration.
- Wear shoes you can walk in. This is a walking workshop.
- If you can, bring settings flexibility. Off-auto practice is where you’ll learn fastest.
Should You Book This Workshop?
Yes, I’d book it if your priority is taking home better Venice photos than you’d get by wandering aimlessly. The combination of street and architecture instruction, the small group size, and the fact that Andrea Zavagnin tailors the experience based on your camera experience are the main reasons.
I’d skip it only if photography instruction isn’t your thing, or if you don’t have a camera you can use with at least basic control. Since you bring your own equipment and the workshop is focused on techniques, you’ll want to be ready to shoot.
If you want a guided photo walk that gives you something concrete—images you’re proud of and a clearer way to think about composition—this is a solid use of a few hours in Venice.
FAQ
Where do we meet for the photography workshop?
You meet at Stazione di Venezia Santa Lucia (30121 Venice, Metropolitan City of Venice, Italy). The activity ends back at the meeting point.
How long is the photography workshop in Venice?
It lasts about 3 hours.
Is photography equipment included?
No. You need to bring your own equipment. The guide brings a tripod.
How big is the group?
The workshop has a maximum of 8 travelers.
Who is the guide for the workshop?
The provider is Andrea Zavagnin.
What happens if the weather is bad?
The experience requires good weather. If it’s canceled due to poor weather, you’ll be offered a different date or a full refund.
Sharper Shots of Venice
- Venice: Photoshoot at Piazza San Marco and the Canals
★ 4.8 · 763 reviews - Venice: St Mark’s Square and Canals Photoshoot
★ 4.8 · 274 reviews - Venice: Photoshoot at The Grand Canal & Rialto Bridge
★ 4.9 · 268 reviews - Fabulous photoshoot in the Canals of Venice
★ 5.0 · 122 reviews - Cinematic Photoshoot in Venice: Capture Venice Hidden Gems
★ 5.0 · 109 reviews - Luxurious Photoshoot in Venice
★ 5.0 · 103 reviews
More Tour Reviews in Venice
- Venice: Doge’s Palace Reserved Entry Ticket
★ 4.6 · 42,716 reviews - Venice: Grand Canal Gondola Ride with App Commentary
★ 4.1 · 23,020 reviews - Venice: Grand Canal Gondola Experience with Live Commentary™
★ 4.2 · 16,504 reviews - Boat Trip: Glimpse of Murano, Torcello & Burano Islands
★ 4.3 · 15,699 reviews - Venice: La Fenice Opera House Entry Ticket with Audio Guide
★ 4.6 · 11,742 reviews - Murano & Burano: Boat Tour with Guide & Glass Factory Visit
★ 4.3 · 10,716 reviews
Sharper Shots Along the Canals
- Venice: Photoshoot at Piazza San Marco and the Canals
★ 4.8 · 763 reviews - Venice: St Mark’s Square and Canals Photoshoot
★ 4.8 · 274 reviews - Venice: Photoshoot at The Grand Canal & Rialto Bridge
★ 4.9 · 268 reviews - Fabulous photoshoot in the Canals of Venice
★ 5.0 · 122 reviews - Cinematic Photoshoot in Venice: Capture Venice Hidden Gems
★ 5.0 · 109 reviews - Luxurious Photoshoot in Venice
★ 5.0 · 103 reviews
Fresh Off the Vaporetto: New Venice Reviews
Venice Photoshoots, compared.
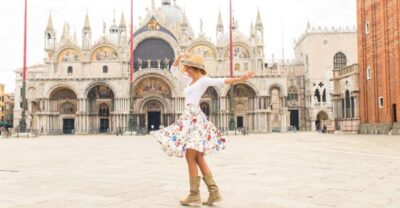 ★ 4.8Photoshoot at Piazza San Marco and the CanalsFrom $65763 reviews
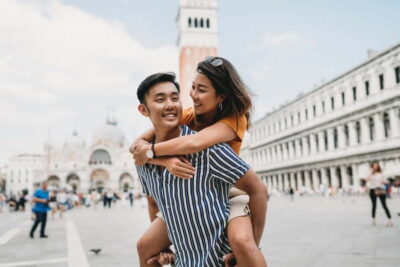 ★ 4.8St Mark’s Square and Canals PhotoshootFrom $67274 reviews
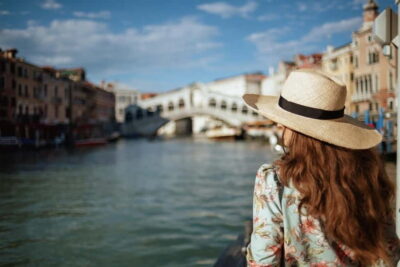 ★ 4.9Photoshoot at The Grand Canal & Rialto BridgeFrom $65268 reviews
Fabulous photoshoot in the Canals of VeniceFrom $71122 reviews
★ 4.9Photoshoot at The Grand Canal & Rialto BridgeFrom $65268 reviews
Fabulous photoshoot in the Canals of VeniceFrom $71122 reviews
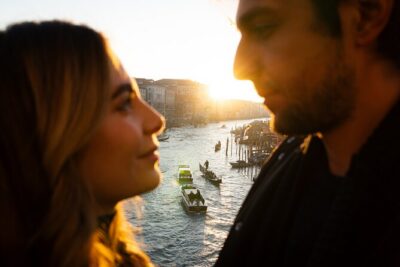 ★ 5.0Cinematic Photoshoot in Venice: Capture Venice Hidden GemsFrom $71109 reviews
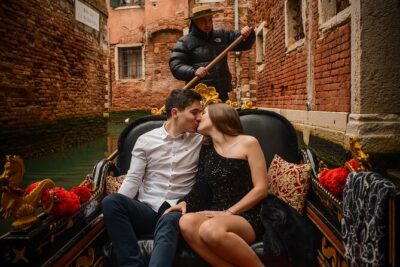 ★ 5.0Luxurious Photoshoot in VeniceFrom $362103 reviews
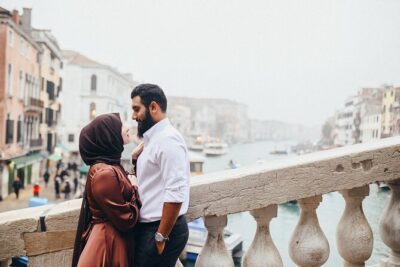 ★ 5.0Private Photo Shoot in Venice with Gondola Ride IncludedFrom $43590 reviews
 ★ 5.0Private Photoshoot on Personal Gondola in VeniceFrom $34882 reviews
Browse the lists this tour appears in